
Upgrade the firmware on a Pololu Mini Maestro using OS X and VirtualBox
The following is a step-by-step guide on how to upgrade the firmware of your Pololu Mini Maestro USB Servo Controller using OS X and VirtualBox.
You'll need to spin up a virtual machine. I decided to use a Windows 7 image to install the Maestro Servo Controller Drivers and Software only because Windows seems to be the Operating System Pololu primarily targets. So, I figured I would be less likely to run into issues. However, according to Polulu's documentation, Linux is supported as well.
For this guide, I'll be using the Mini Maestro 12-Channel USB Servo Controller. I assume the steps for Pololu's other controllers will be nearly identical.
Before starting, go ahead and plug in the Mini Maestro device.
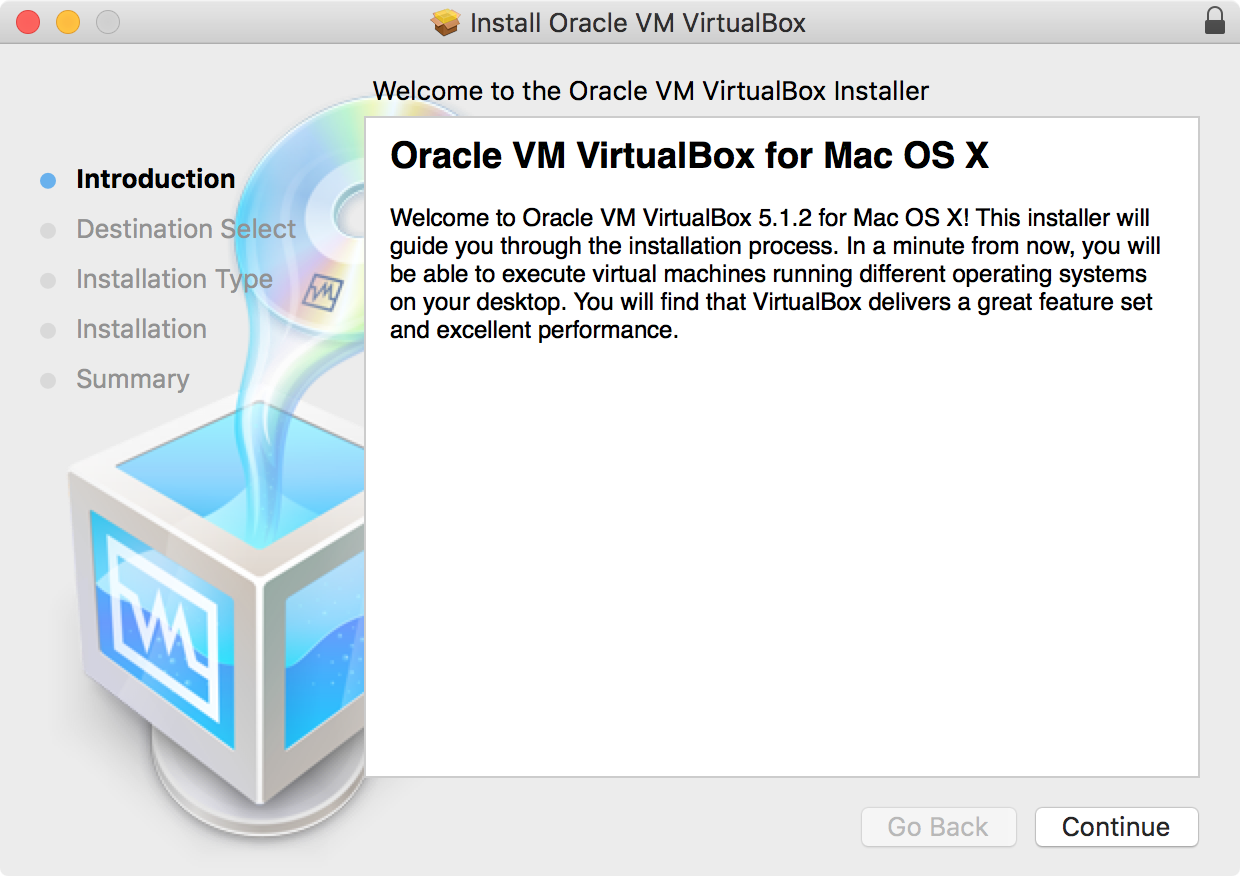
Next, you'll need to download VirtualBox and install it. I used VirtualBox 5.1.2, as that's currently the latest version.
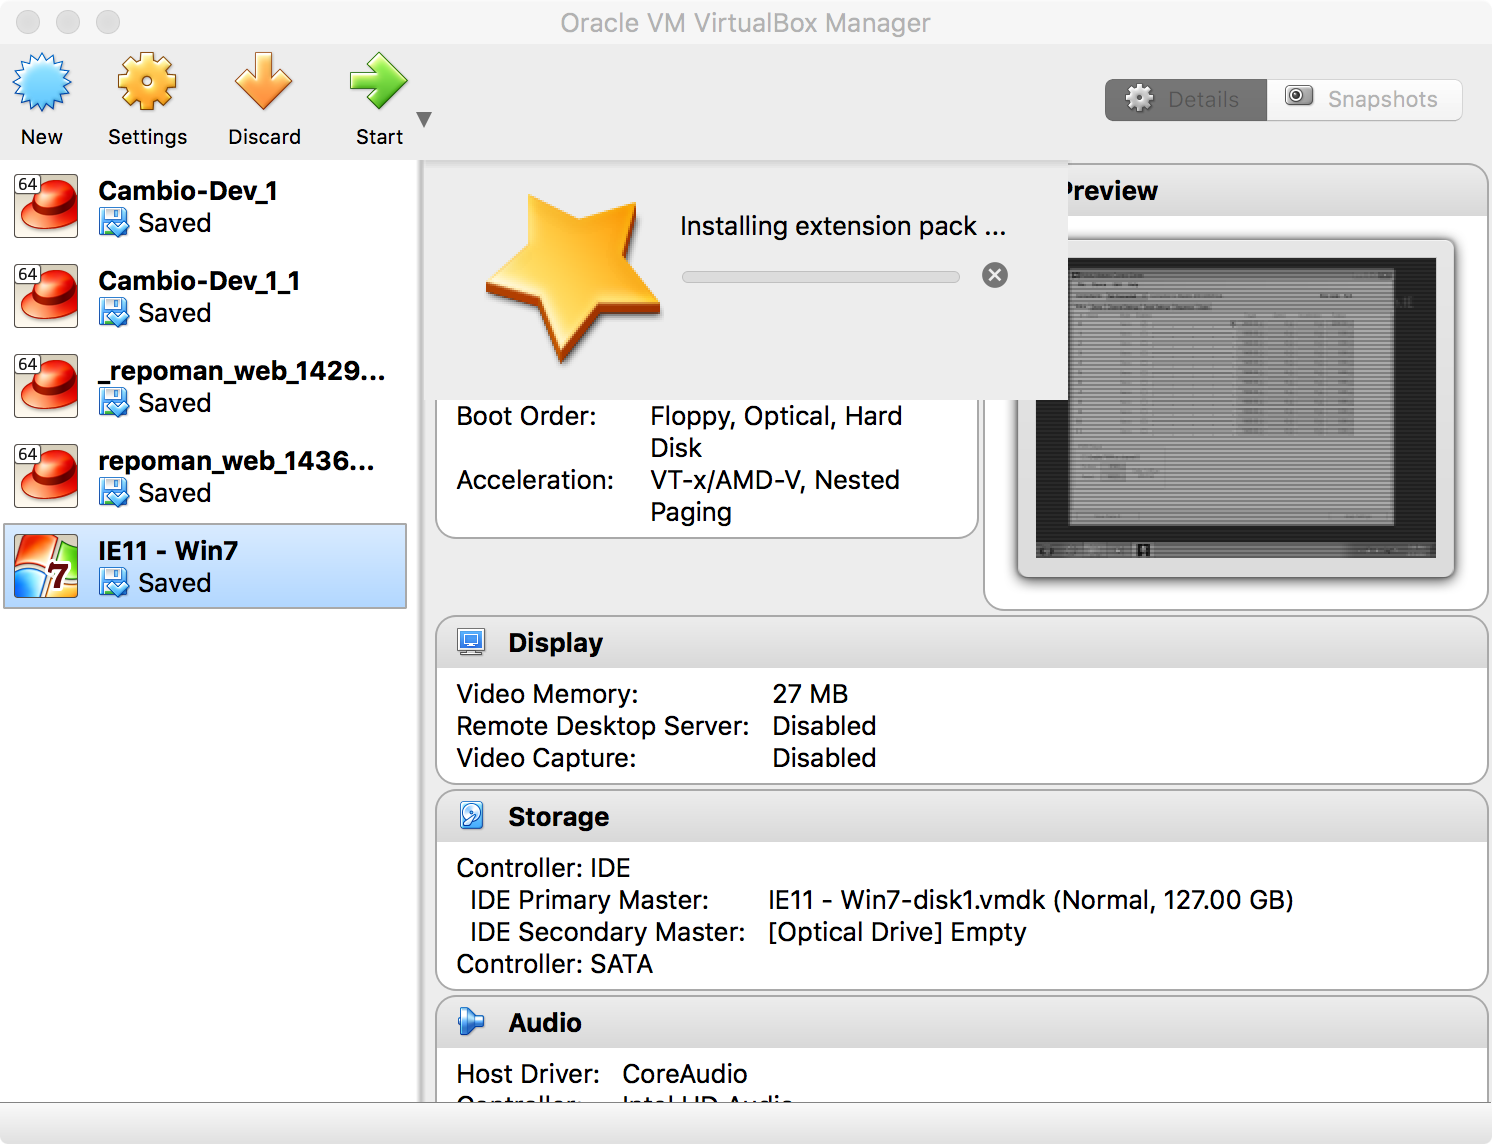
Next, you'll need to download the Oracle VM VirtualBox Extension Pack and install it. The extension pack will be needed in order for the USB ports to work with the Maestro board correctly.
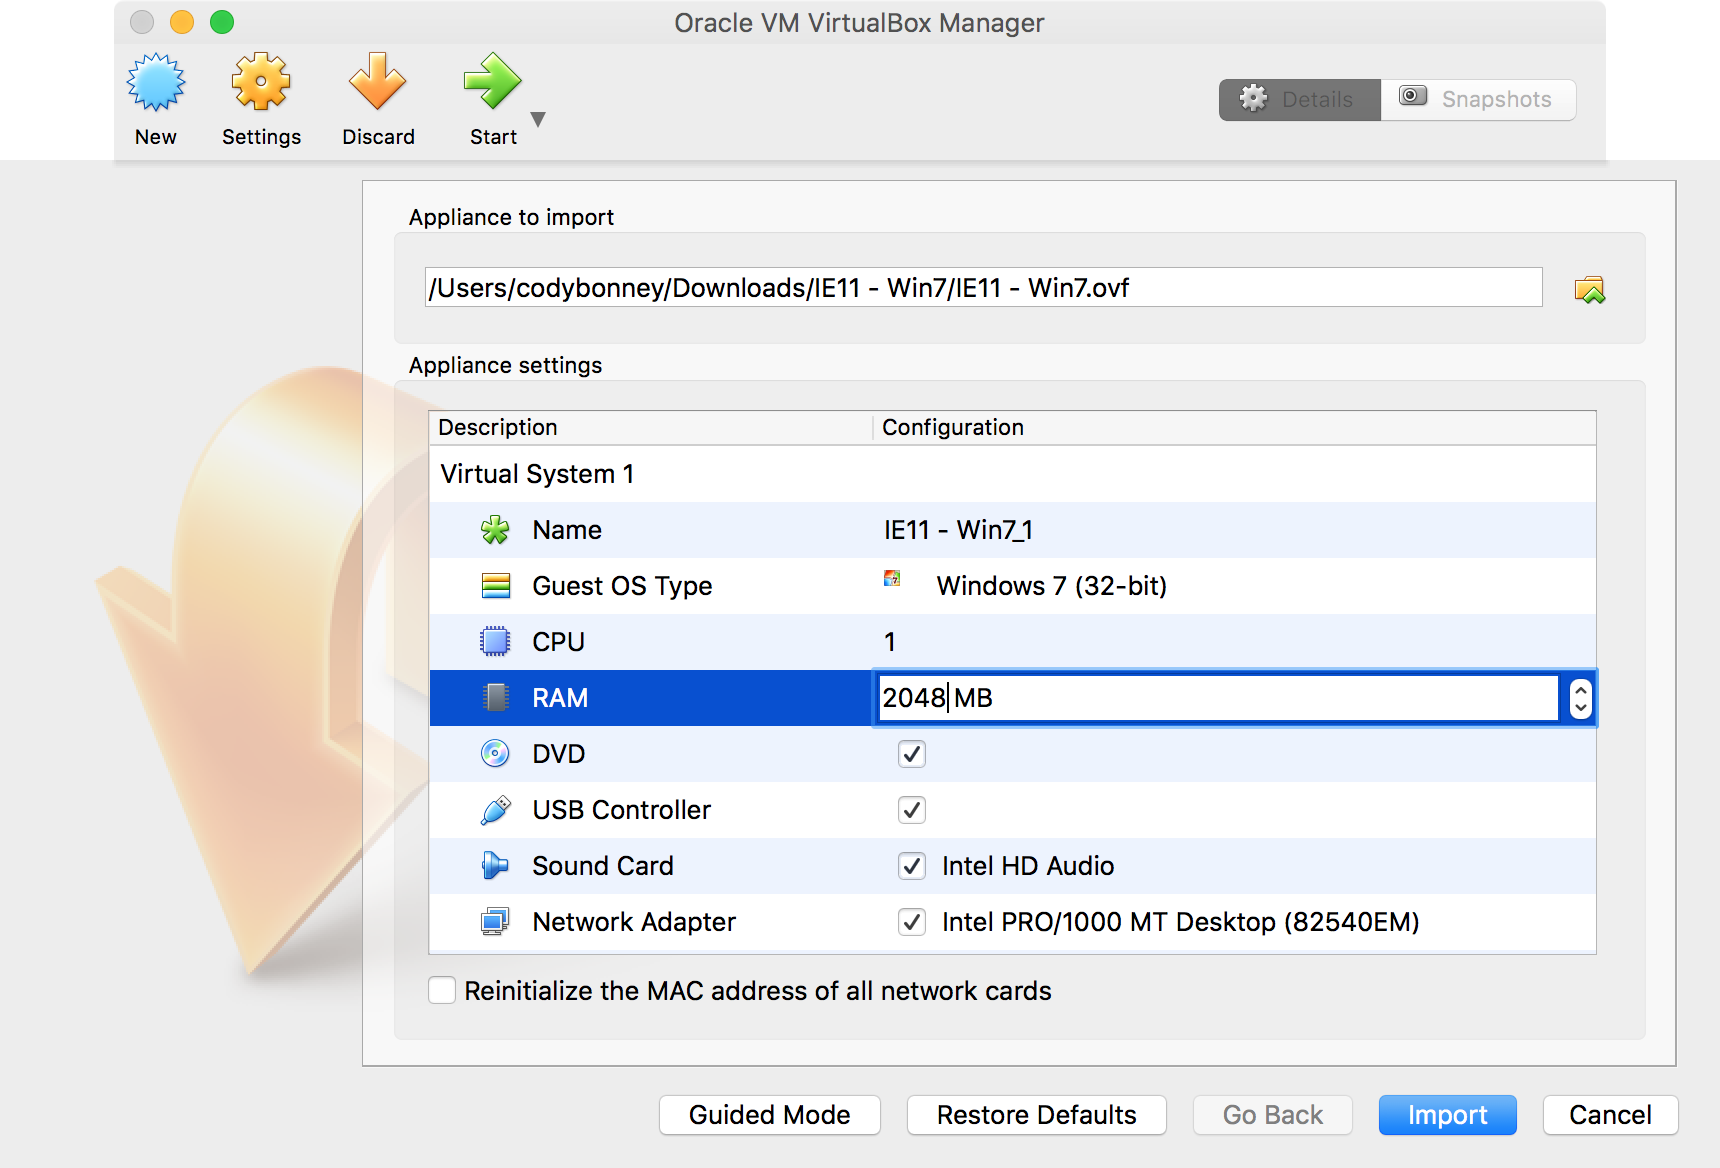
You will then need to download a Windows 7 VM image and set it up in VirtualBox. I downloaded the IE 11 on Win7 image. When the download is complete, unzip the archive, then open the IE11 - Win7.ovf file. This will launch VirtualBox and start the Wizard for setting up the new VM. Make sure to bump the amount of allocated RAM up to 2048 MB.
Note that the OS in the VM image will reset itself on restart. So, after it is installed, be sure to pause the state instead of doing a full restart.
Now, launch the new Windows 7 Virtual Machine. Once the machine boots, you'll want to open IE and download the Maestro Servo Controller Windows Drivers and Software. Once it's downloaded, install and launch the application inside the VM.
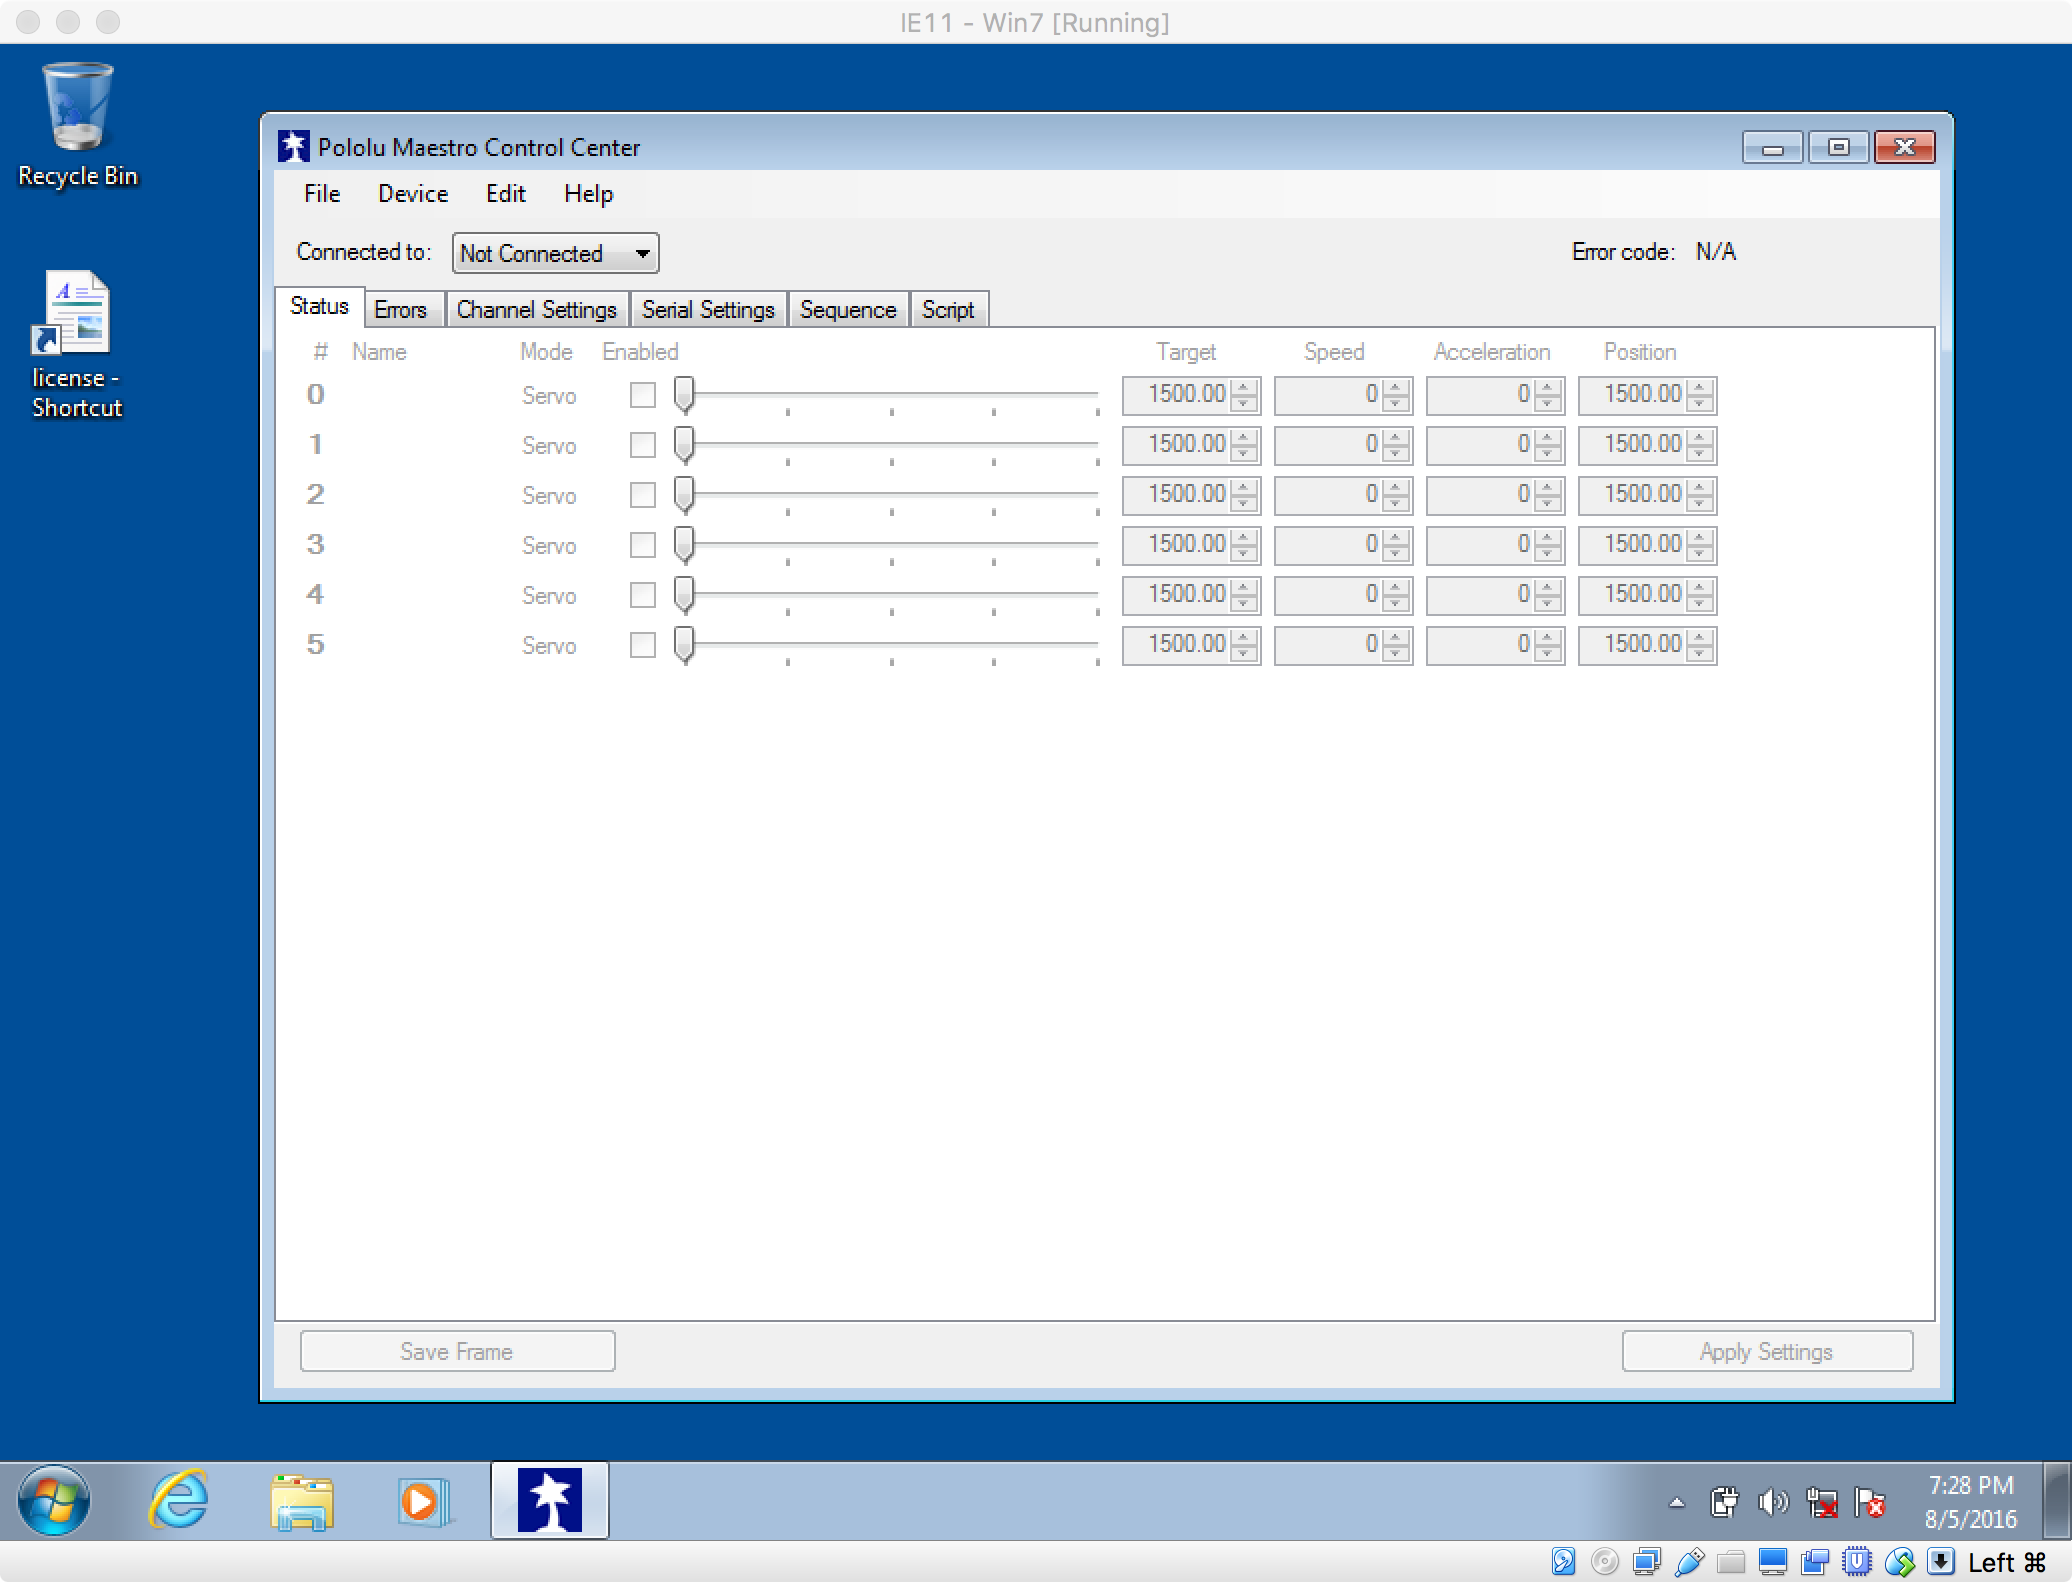
At this point, you'll notice that the Maestro Servo Controller software is unable to find your Mini Maestro device! In order to get Windows to detect it, we'll need to set up a USB Device Filter in VirtualBox.
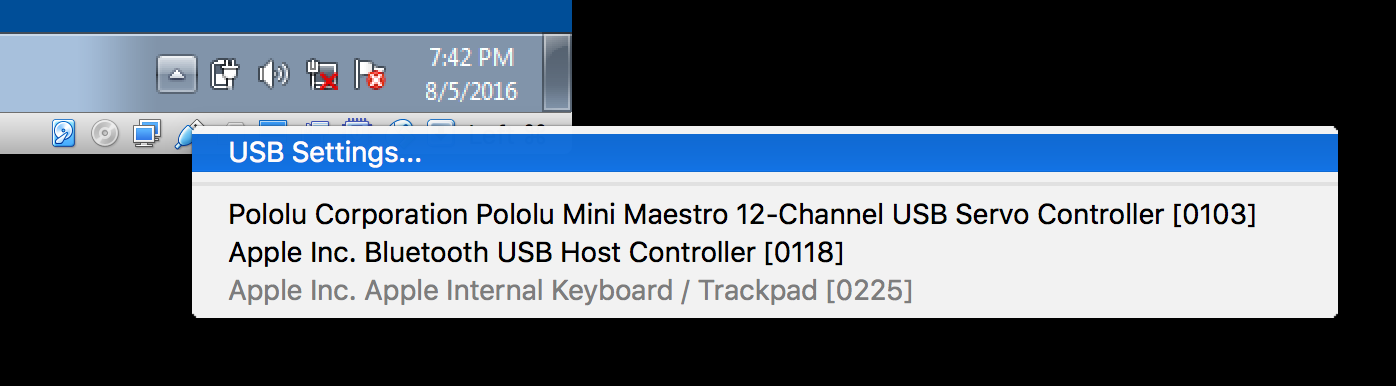
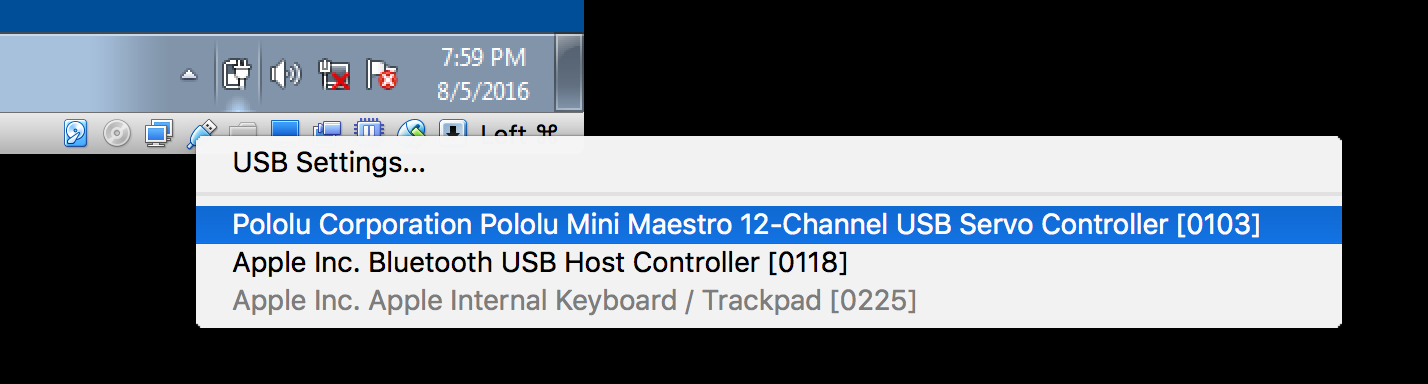
Before doing this, we'll need to capture some information about the Mini Maestro device. On your host machine, open up a terminal and run VBoxManage list usbhost. You will likely see several USB devices listed. Find the one that reads Pololu Mini Maestro 12-Channel USB Servo Controller under the Product section.

Now that we have the device information, we're ready to set up a USB Device Filter in VirtualBox! First, click the little USB icon in the bottom-right corner of the Virtual Machine window. Next, click the USB Settings... option presented in the menu.
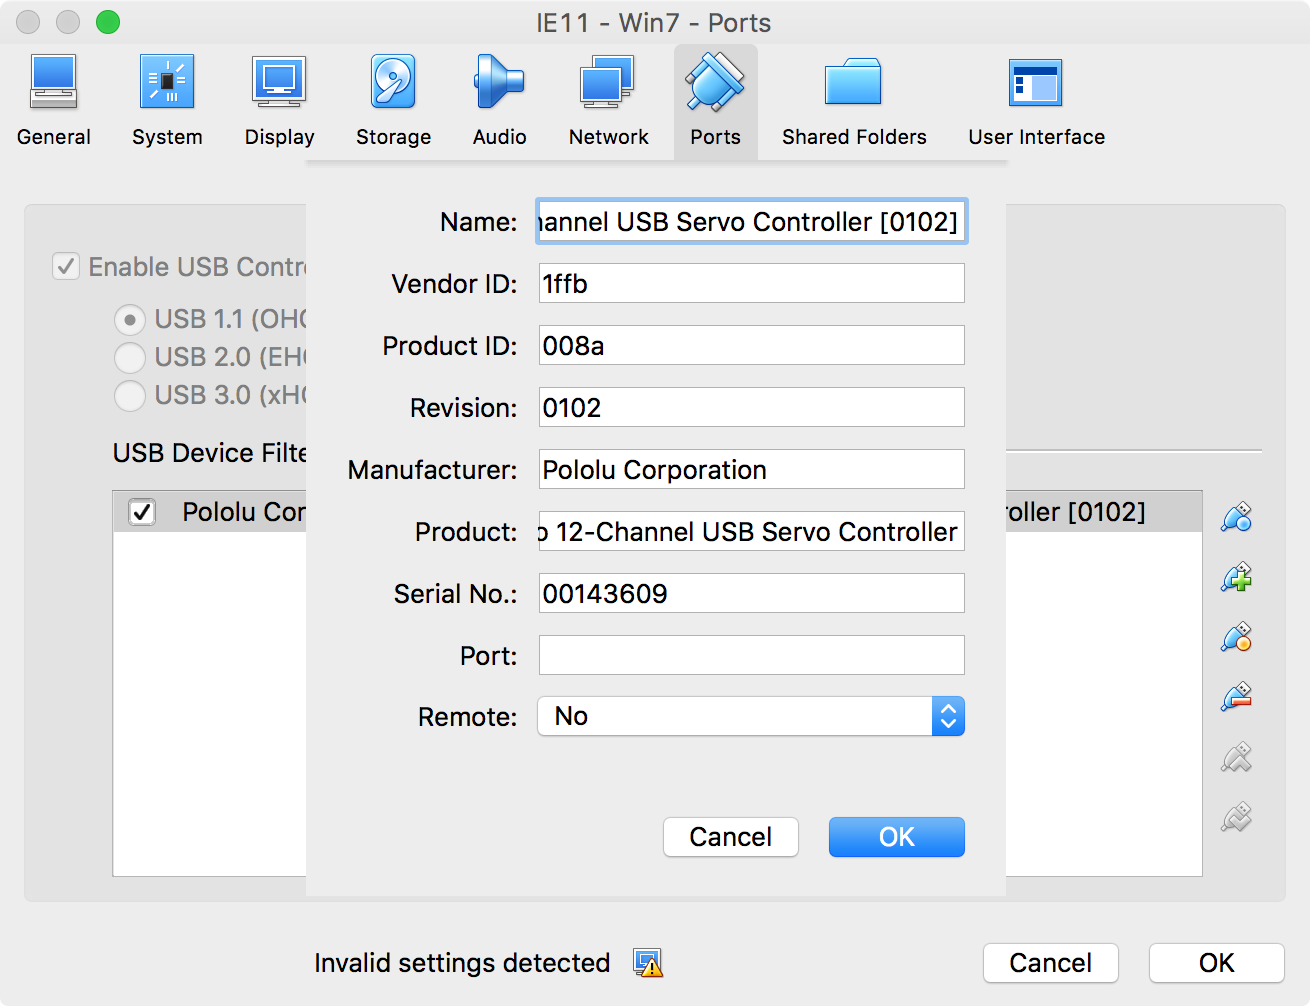
This will pop up a new window allowing you to set up USB Filters. Hit the button at the very top of the list (with the blue circle), then edit the newly created filter, filling out the fields manually so that they match the values we captured earlier in terminal when we ran VBoxManage list usbhost.
After hitting OK (both buttons), you should now be able to click the USB Device list in the bottom-right hand corner, and see a new one for the Pololu device. Go ahead and select it.
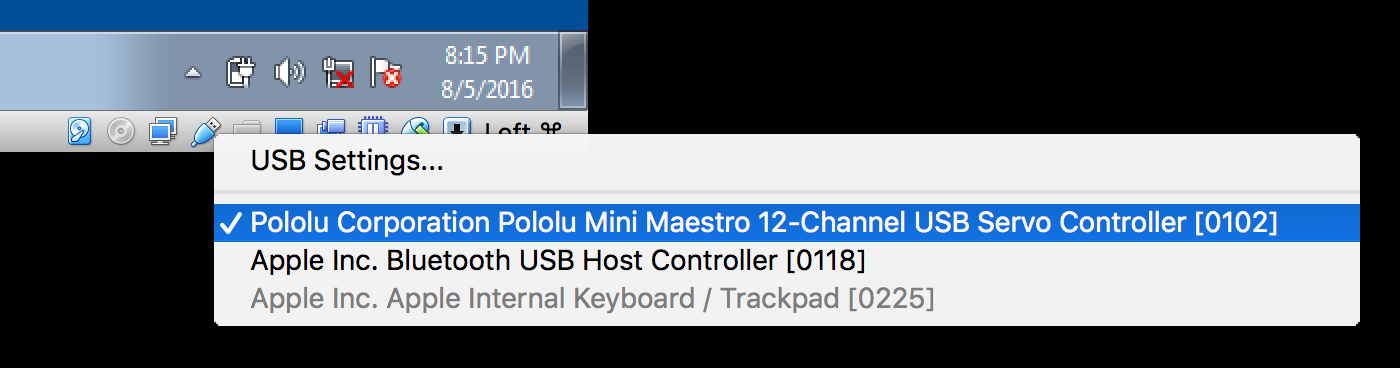
After selecting the newly available device, wait a few seconds for the drivers to set it up, you should then see the Pololu software detect it!
We're now ready to install the new firmware! Launch IE again in the Virtual Machine and download the new Pololu device firmware.
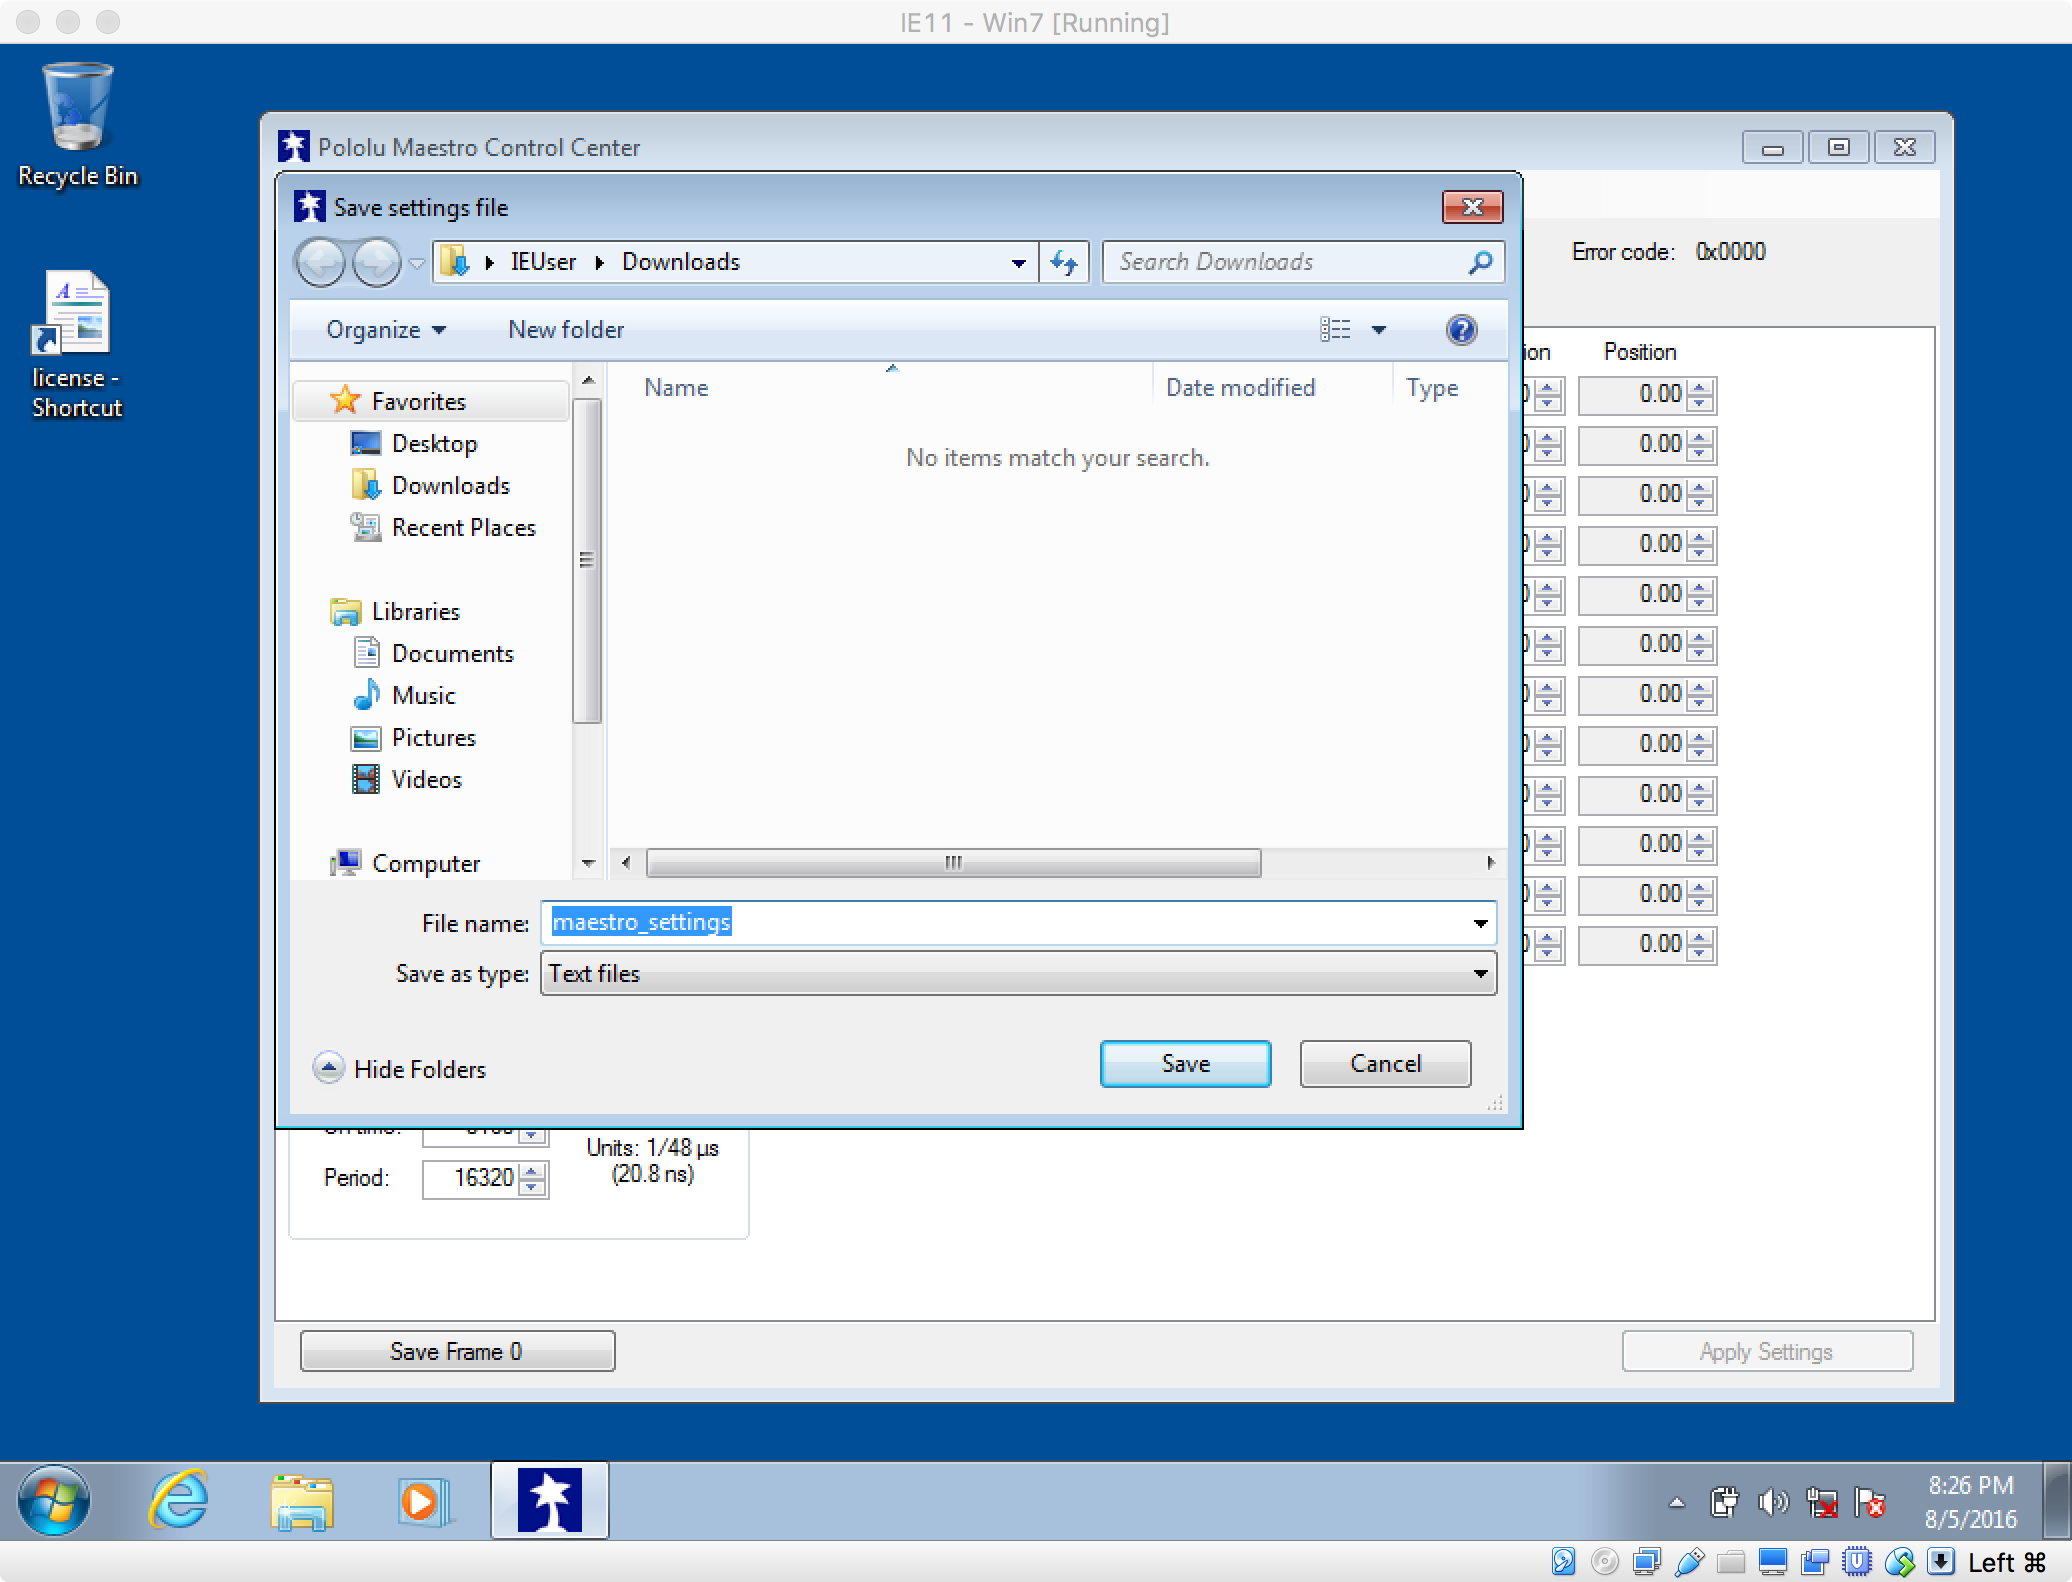
Next, make a backup of the current device settings by navigating to File then Save settings file. It also might not hurt to take some screenshots of the settings and manually save out the code from the Script section, just in case.
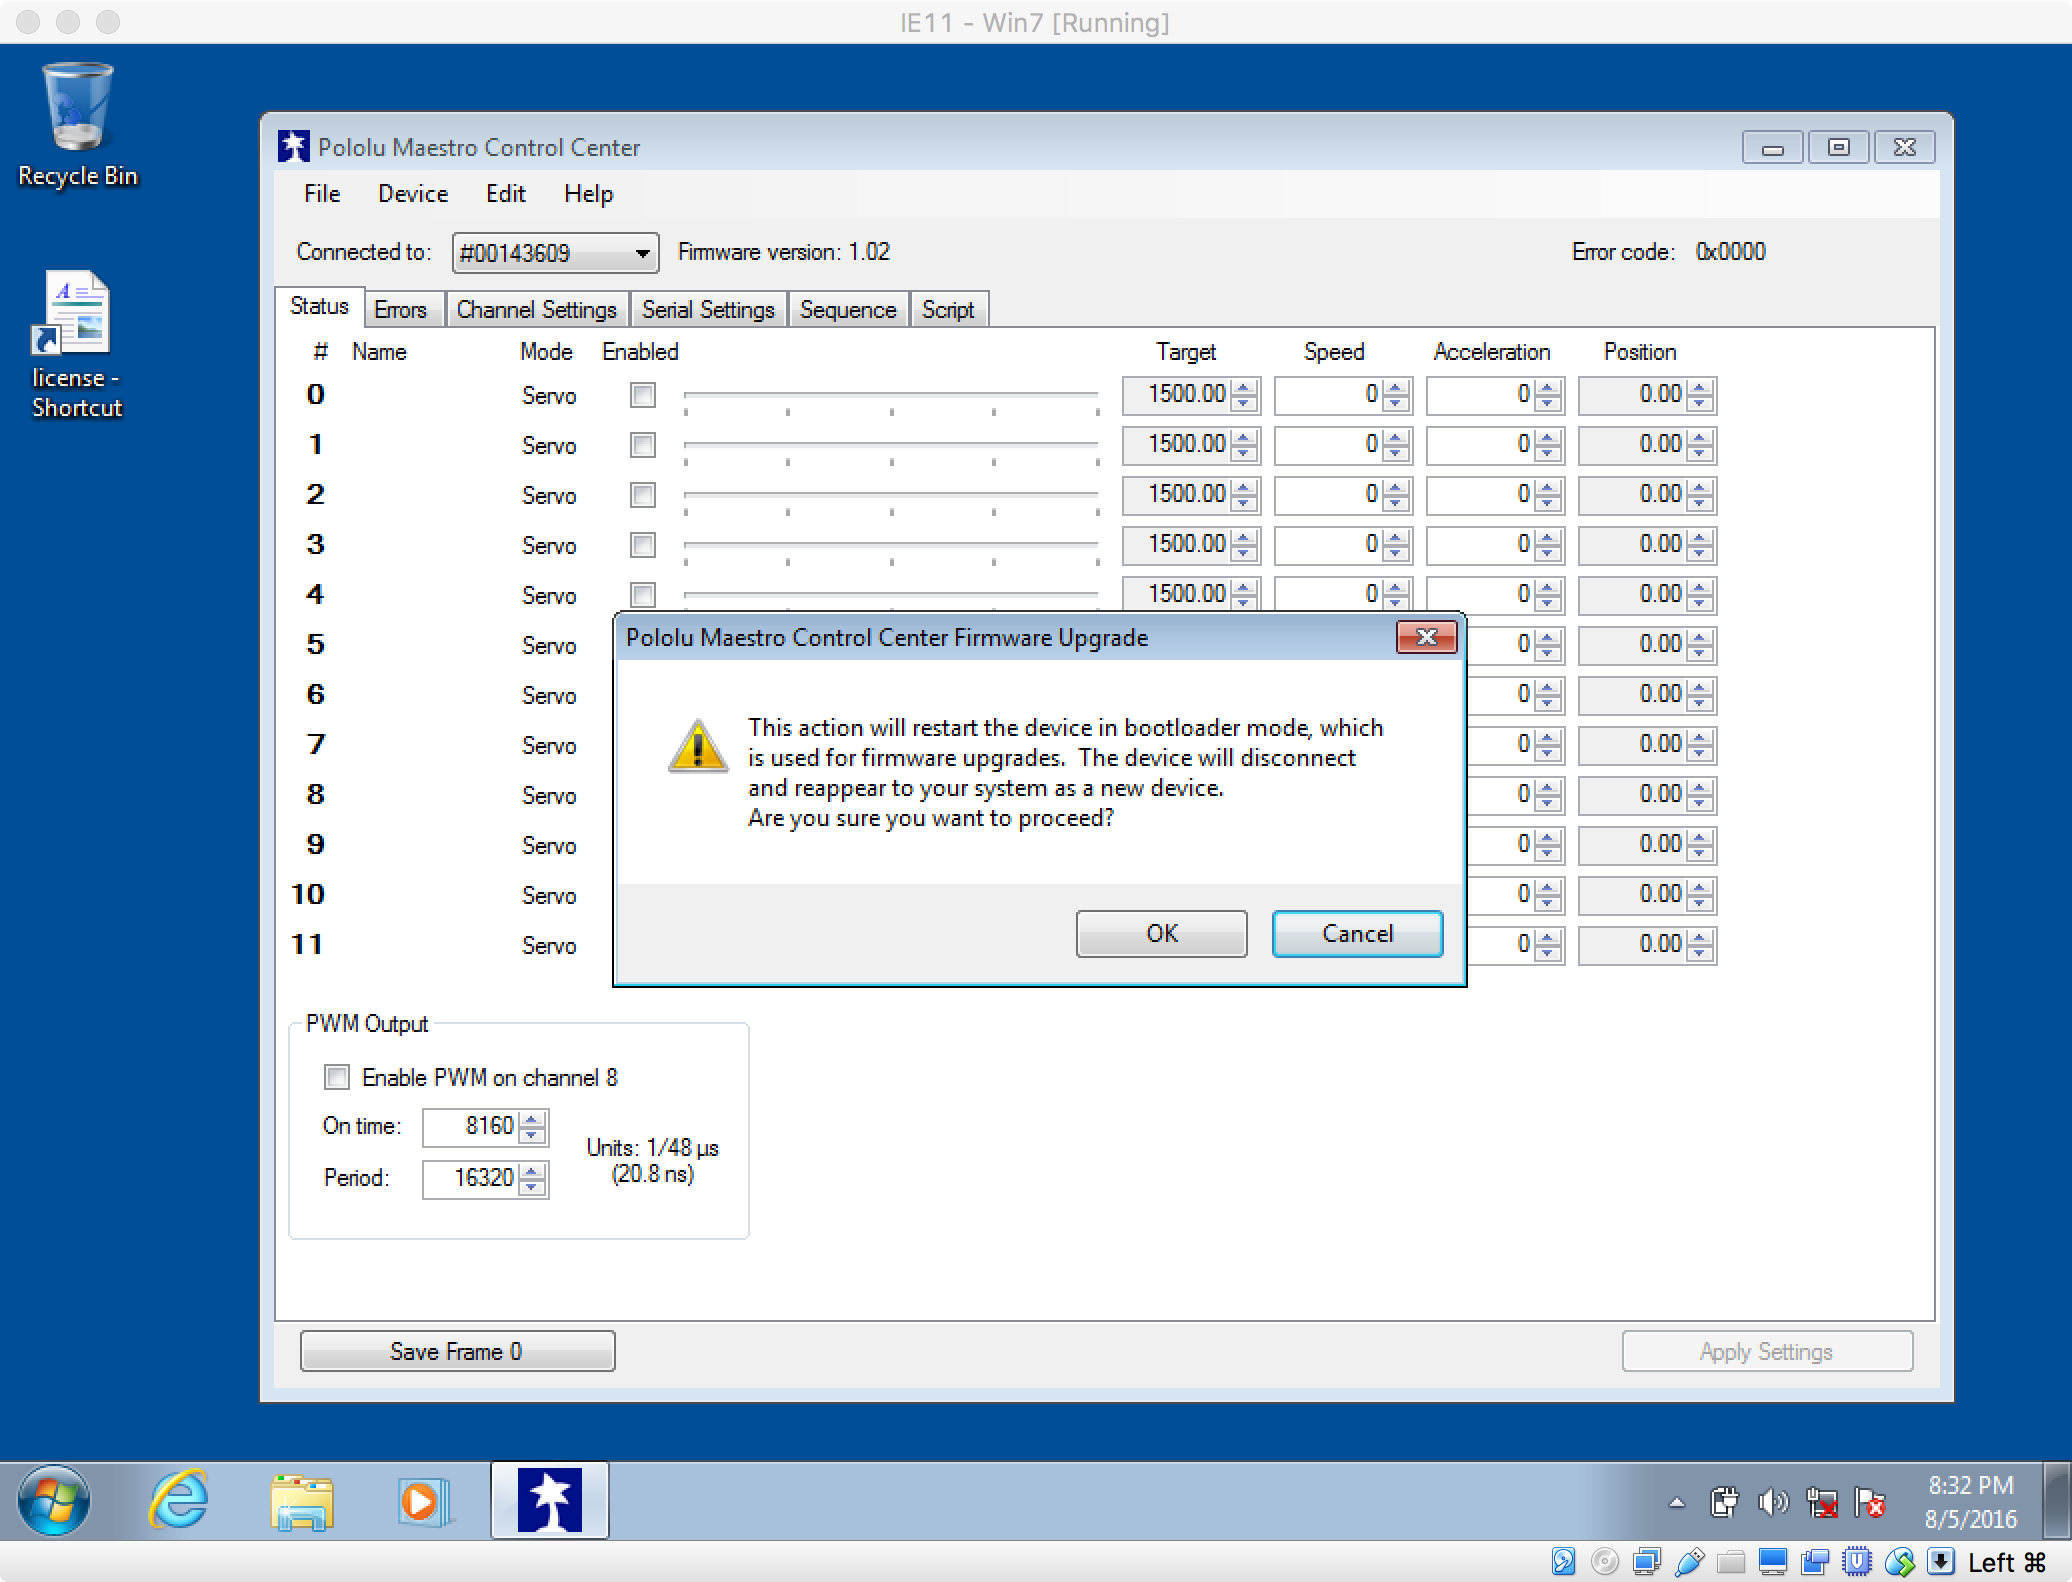
Next, navigate to Device and then Upgrade firmware.... This should trigger an alert modal warning that the action will put the device into bootloader mode. Hit OK.
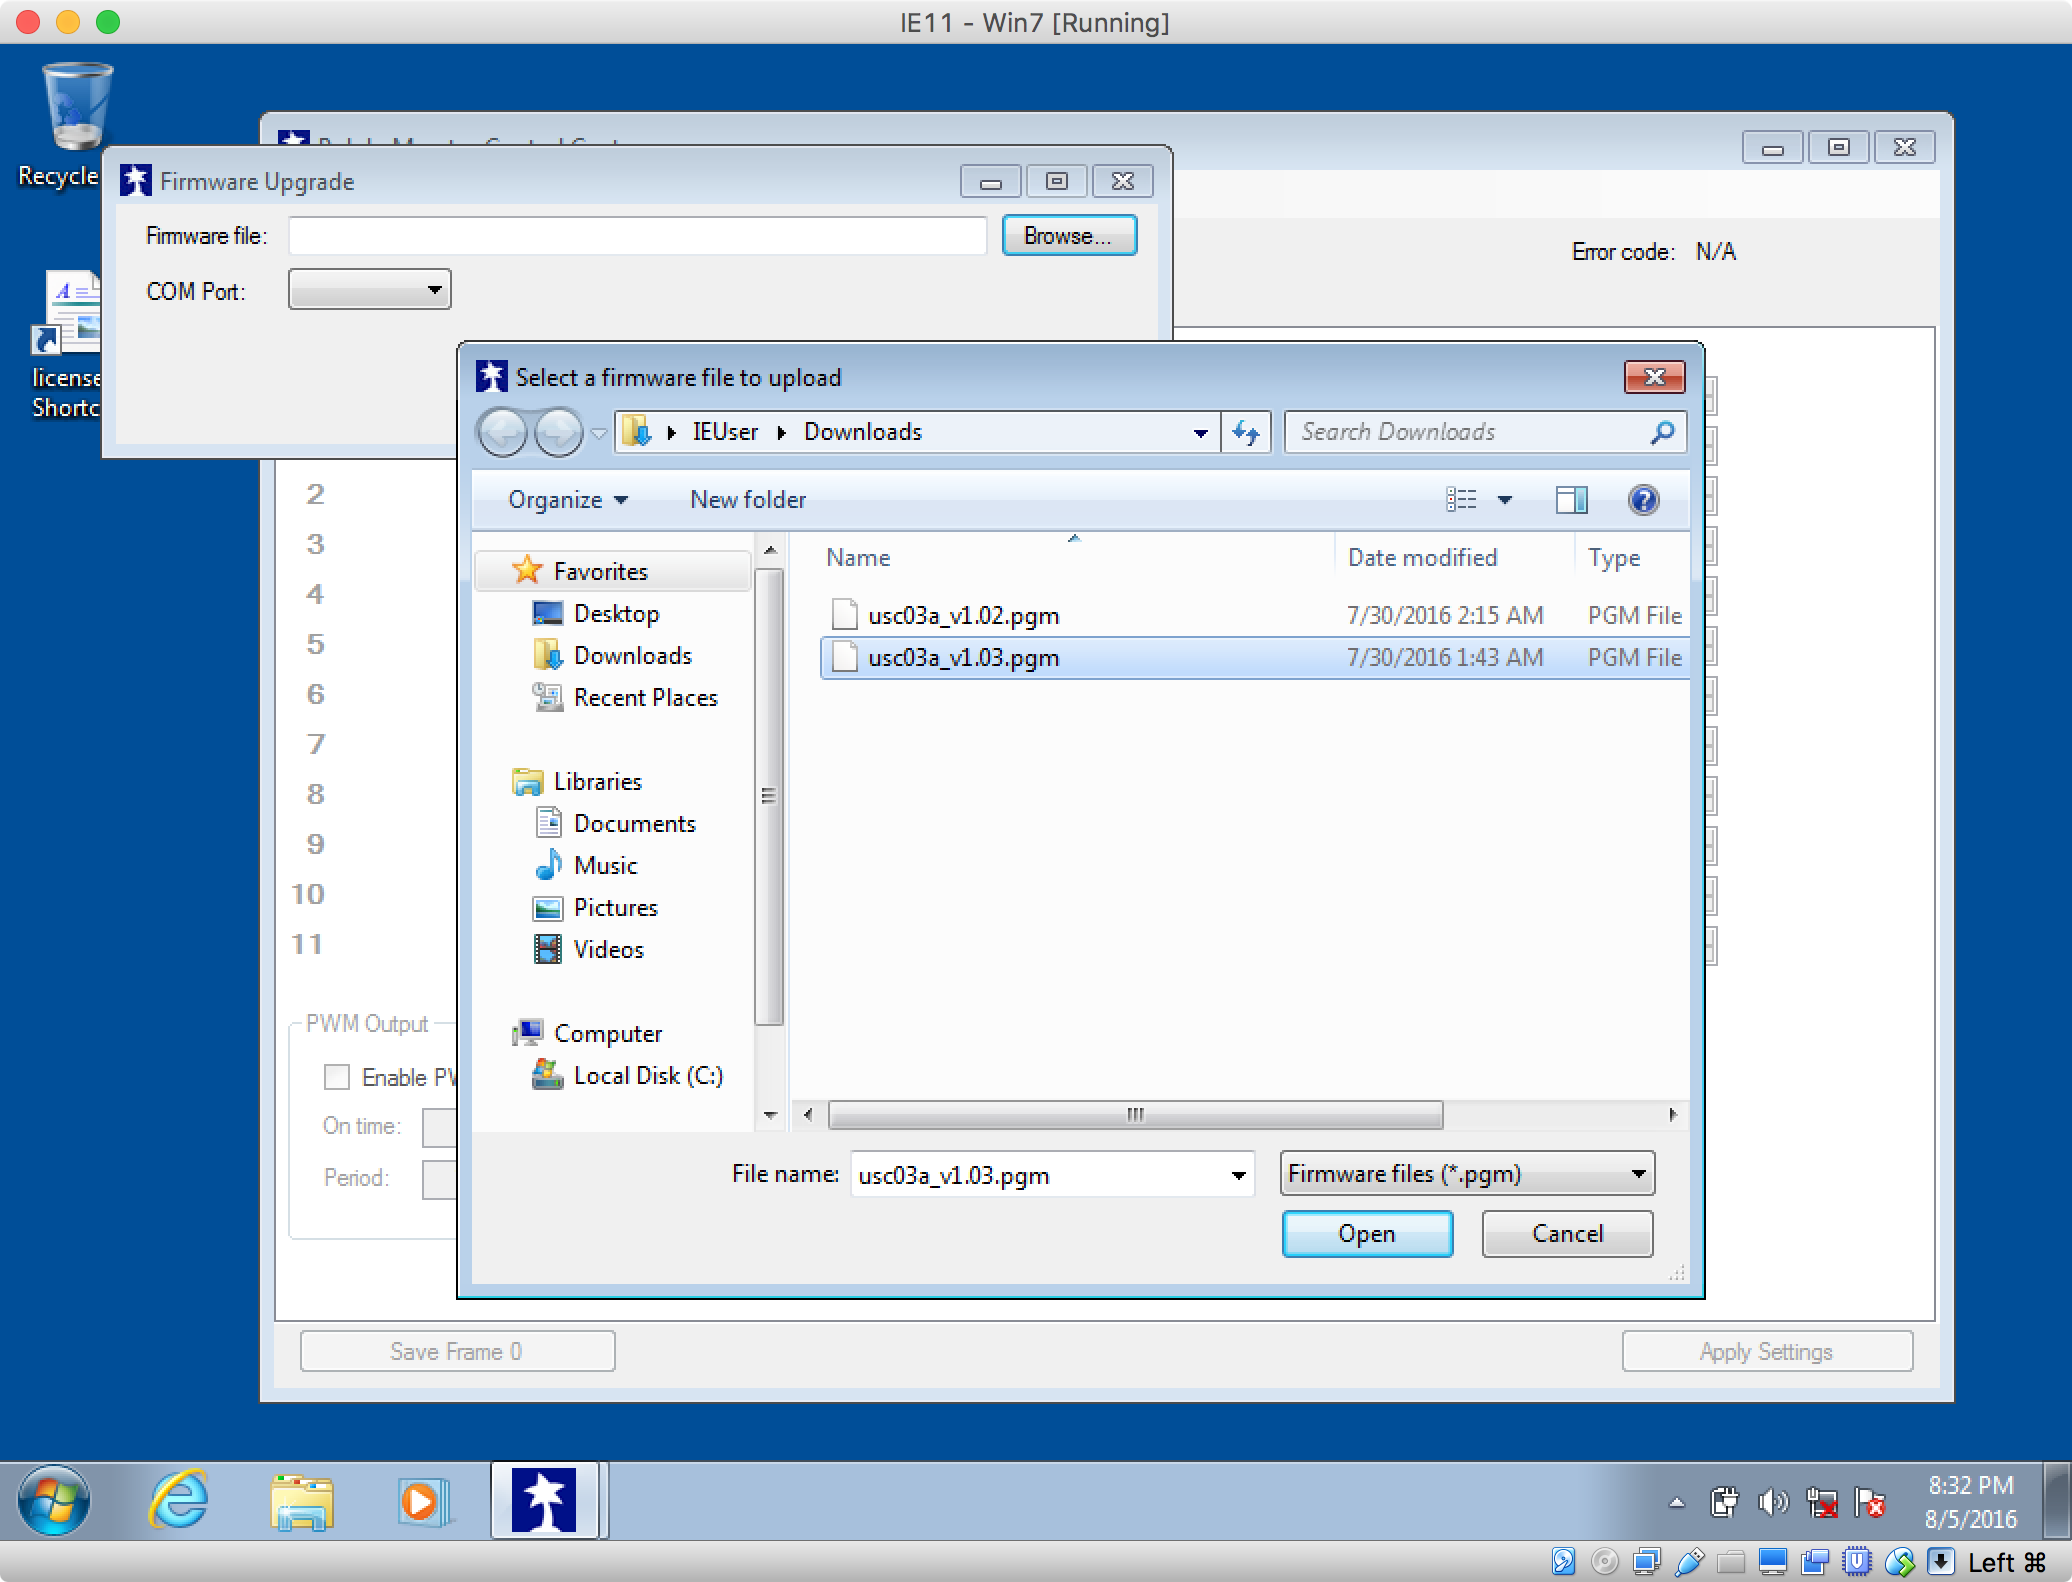
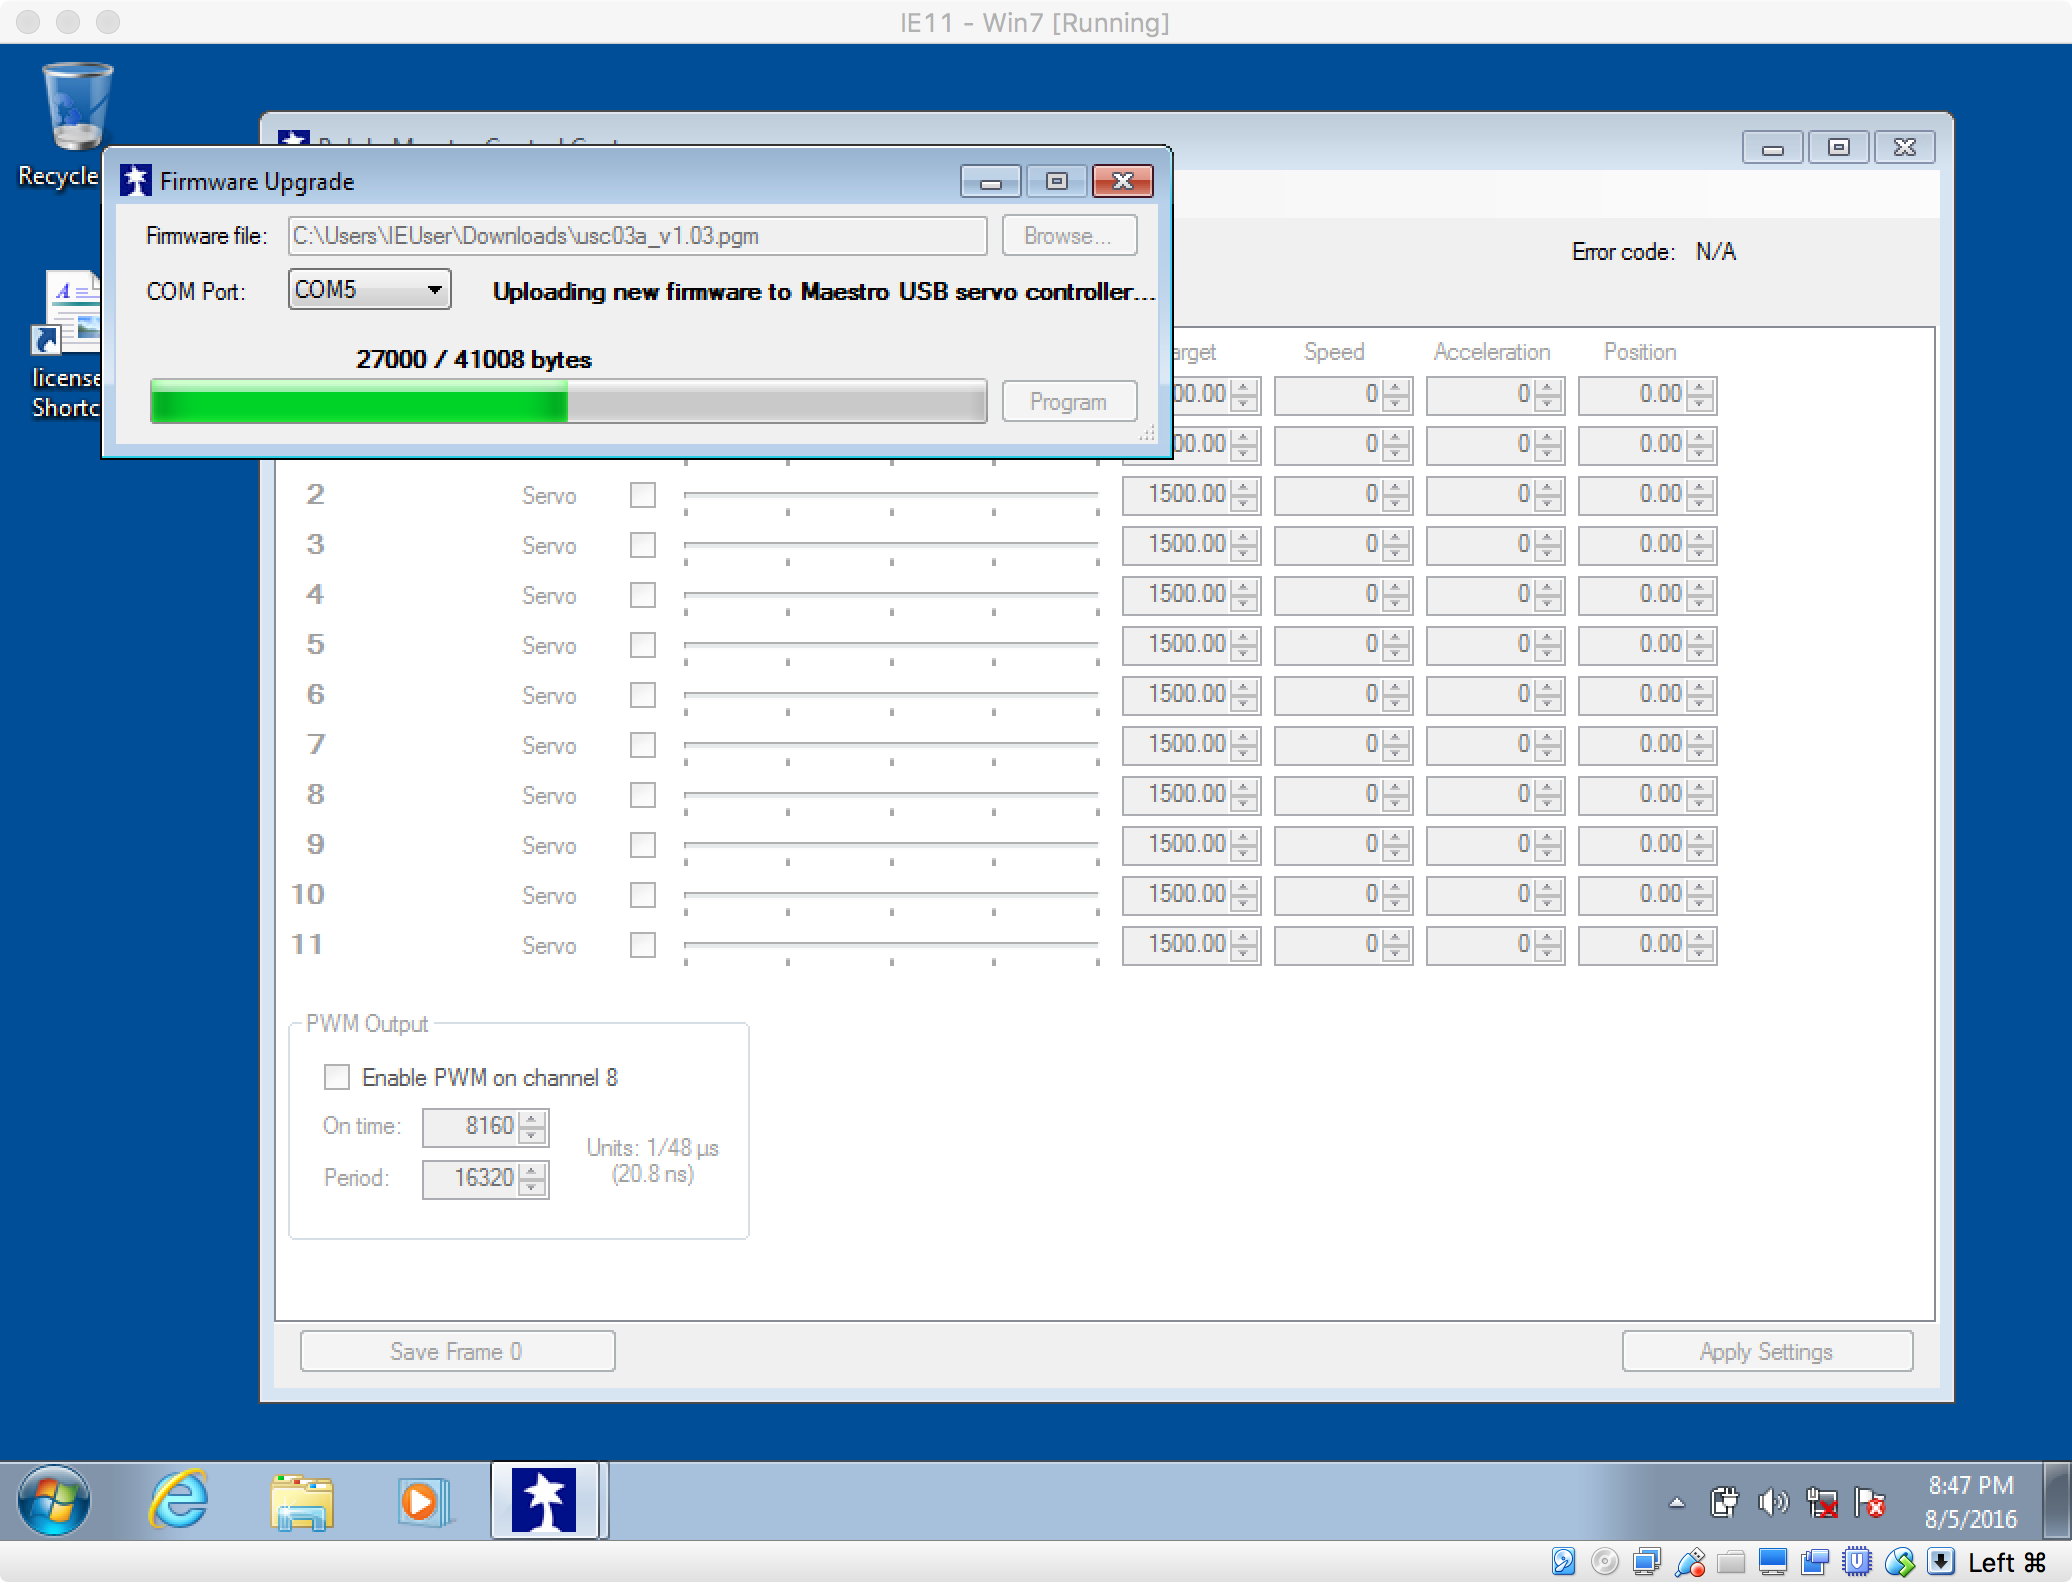
In the next window, hit the Browse button and select the new firmware file that we downloaded earlier.
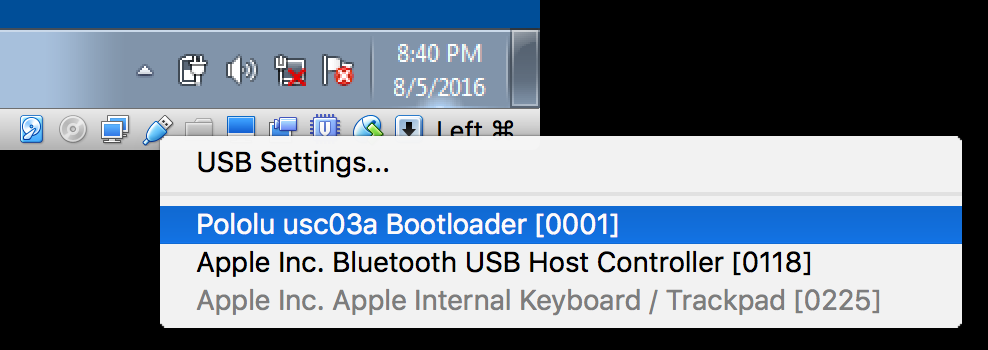
The next option is to select a COM port. Unfortunately, the dropdown box will be empty! This happens because we put the device into bootloader mode and the Virtual Machine no longer recognizes it. To get the device recognized again, go down to the USB devices shortcut in the bottom-right corner of the Virtual Machine window, and select the Pololu device that is in bootloader mode.
It may take a little bit of time for the Virtual Machine to set up the drivers for the device now that it's in bootloader mode. Give it a minute or two. After that, try clicking the dropdown box again (even if it's still empty) and you should see a new COM option populate it!

Once you select the COM port, hit the Program button. It will flash another alert warning that the device will be wiped. Hit OK and the new firmware will begin uploading!
Once it's finished, you'll notice that the device is not detected by the Pololu Maestro Control Center. This happens because some of the settings we used in the USB Device Filter are now different.
To make the device detectable, you will want to navigate to USB Settings in the lower right hand corner and edit the USB Filters again. Select the the USB filter filter we set up earlier and update the Name section and the Revision section to reflect the new firmware version. 0102 = firmware 1.02, 0103 = firmware 1.03, etc

After you hit OK, you should once again, see a new device available in the USB devices shortcut menu in the bottom-right corner of the Virtual Machine window. This time, it should have the new firmware revision version. Go ahead and select it.
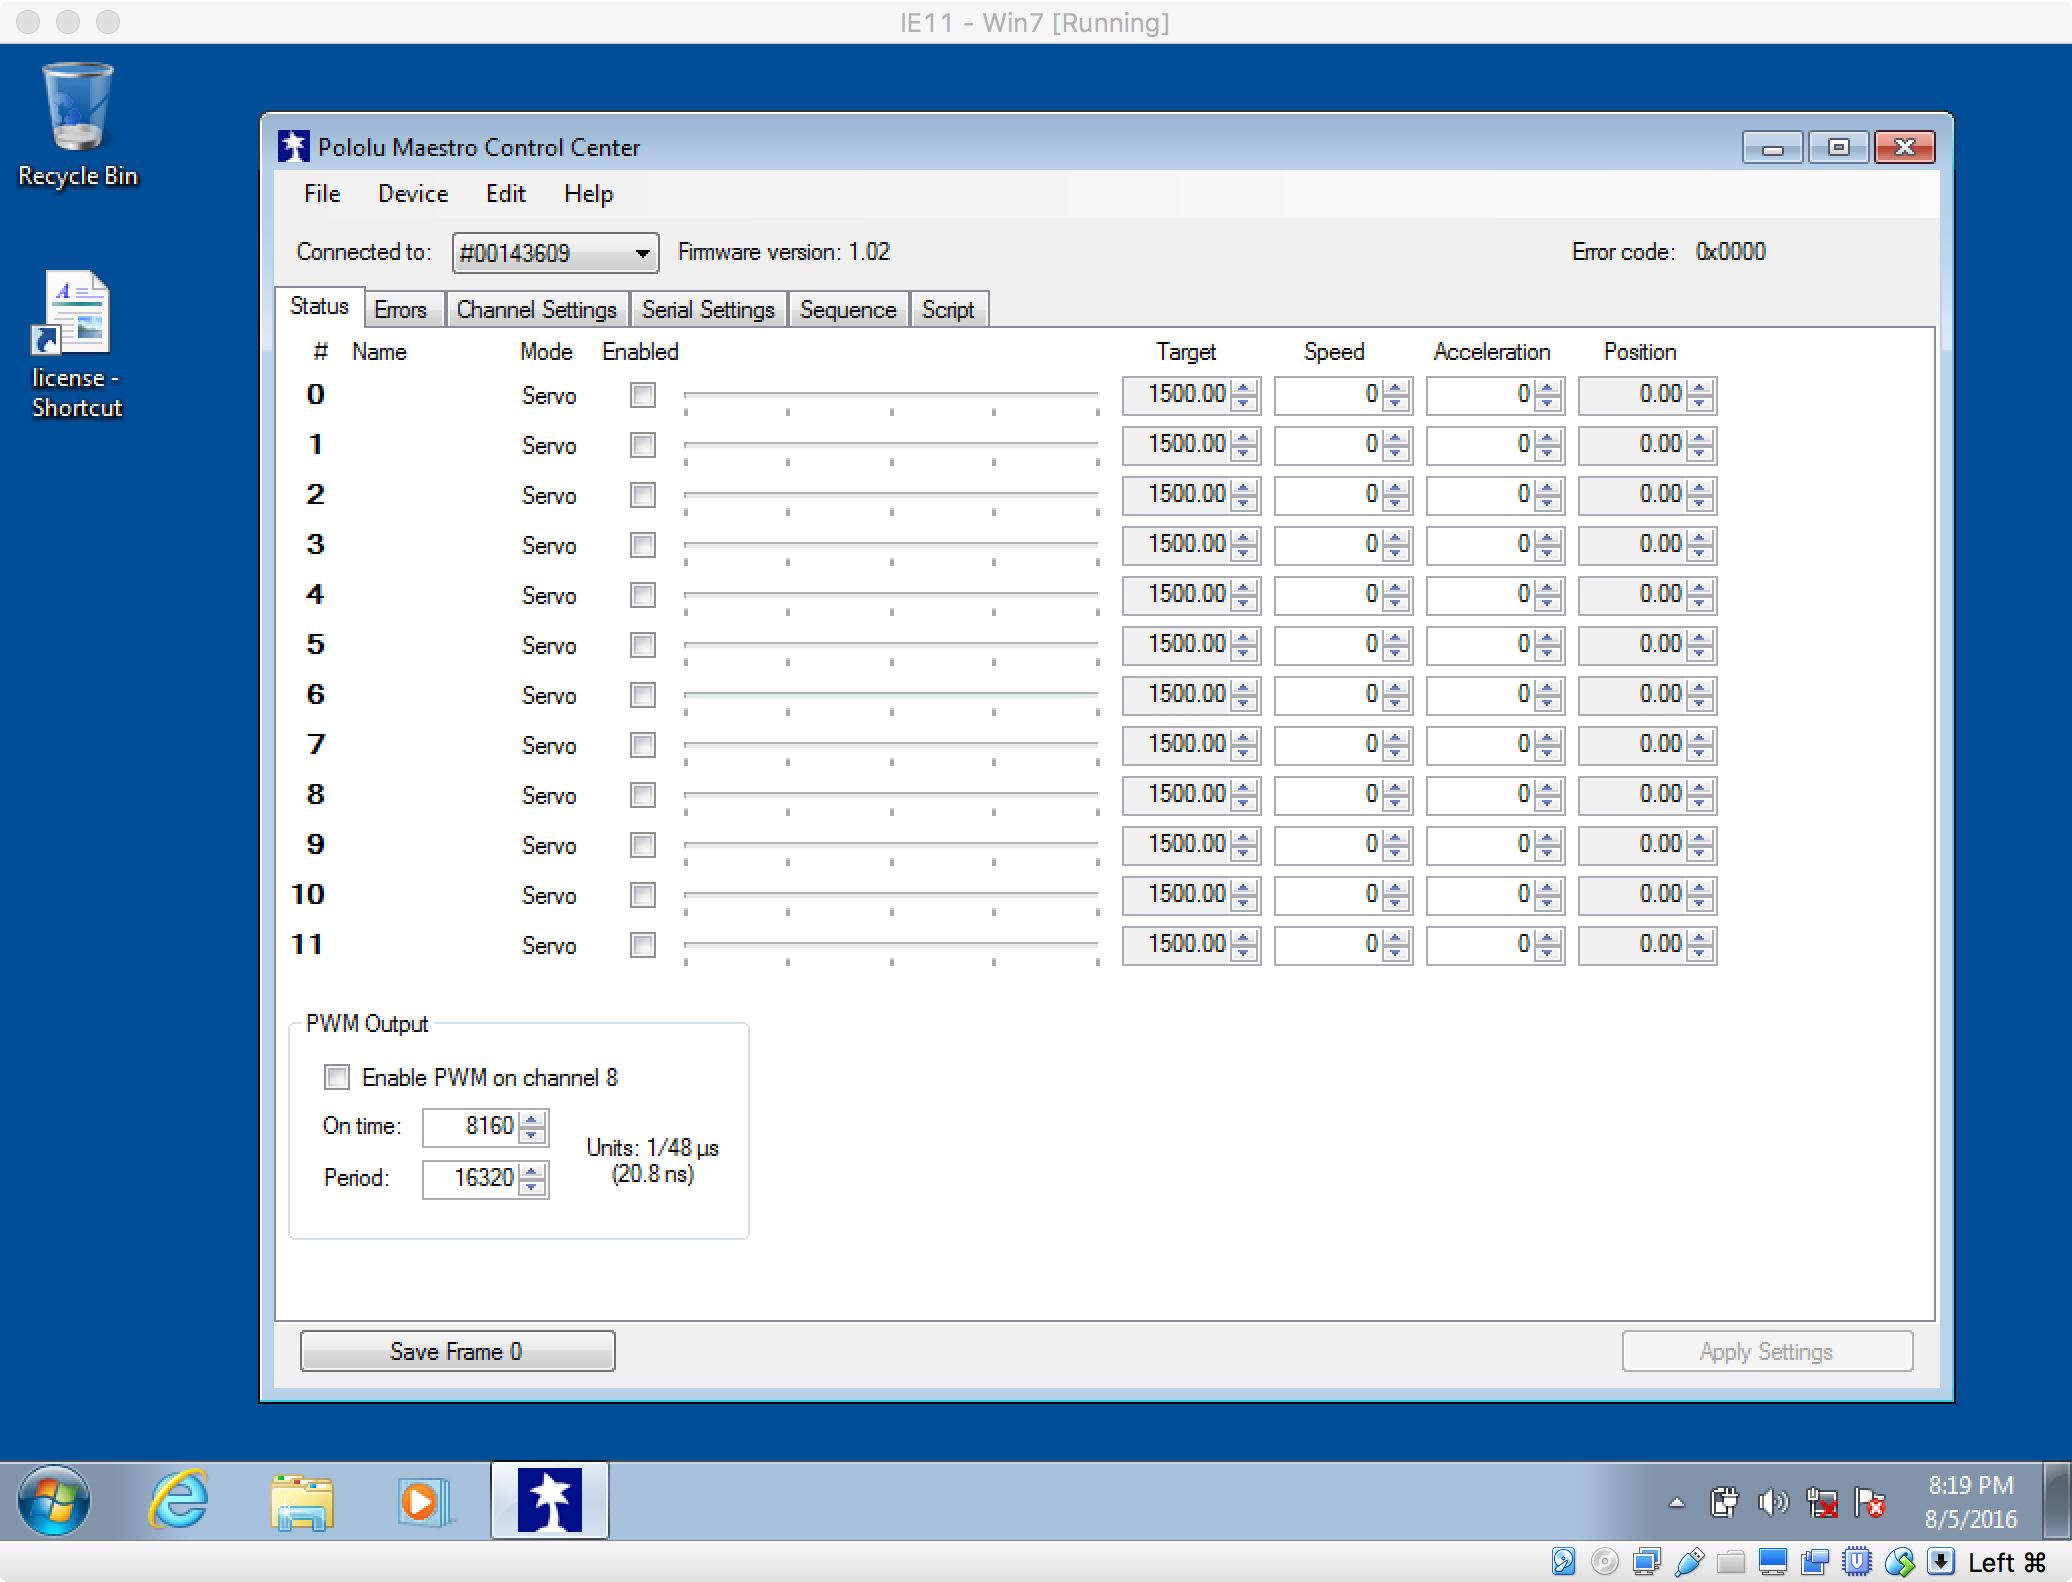
After waiting a few seconds, you should see the settings populate in the Pololu Maestro Control Center. Next to the Connected to dropdown box, you should see the new firmware version reflected!
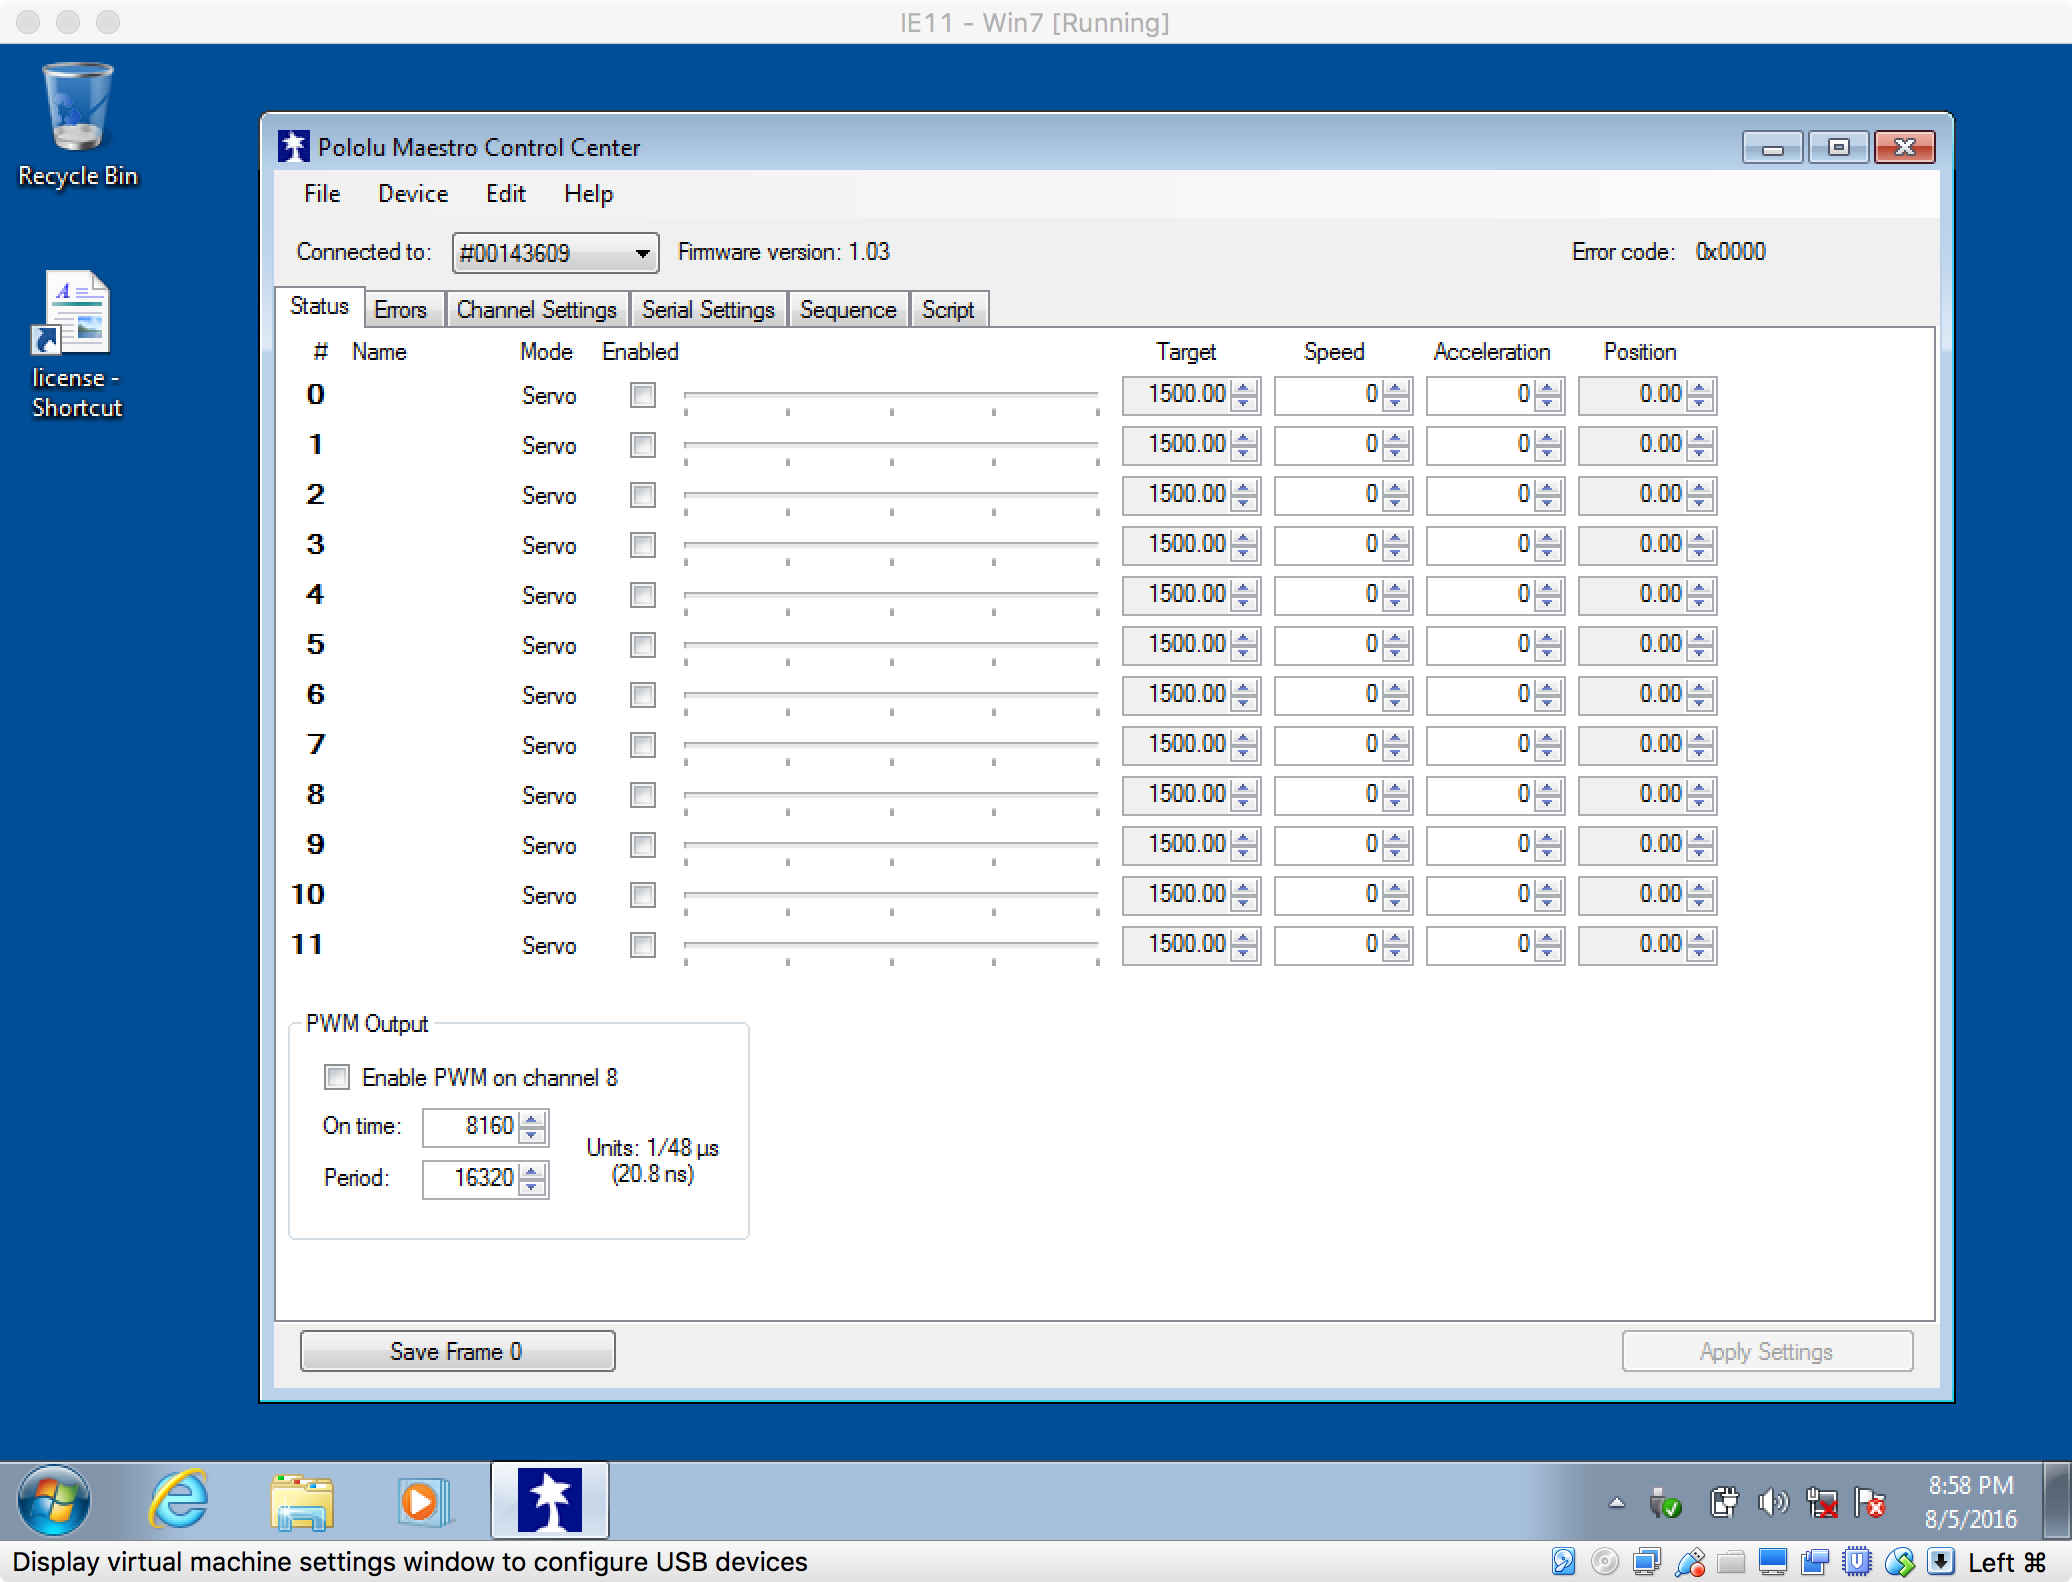
Now, lets restore the old settings that were backed up earlier. Go to File and then select Open settings file. Select the file that was saved earlier when making the backup.
Go through the various tabs (Channel Settings, Serial Settings, Sequence, etc) and make sure that your settings still look correct. If everything looks good, hit Apply Settings.
Congratulations! You now have a Pololu Mini Maestro device with upgraded firmware! At this point, you can turn off the virtual machine and let the Pololu device connect to OS X again.
A little background on why I wrote this: I recently encountered an issue communicating with my Pololu Mini Maestro 12-Channel USB Servo Controller when using OS X El Capitan 10.11. The serial port for the device would close and then completely vanish almost immediately after being opened. The following error would then be returned.
{ [Error: ENXIO: no such device or address, read] errno: -6, code: 'ENXIO', syscall: 'read' }
I was still able to write to the port, but only within a small 100-400ms window between the port opening and closing. After writing some tests and fiddling around with it, I opened a new Issue in the node-serialport Github project since that's the software I was using to communicate with the device. (node-serialport is a fantastic project by the way, check it out if you get a chance!)
It definitely seemed like a hardware issue at first. But, after some more research, I discovered that a firmware update (1.03) had very recently been released by Polulu specifically addressing communication issues between the board and OS X El Capitan!
Unfortunately, the software that is required to upgrade the firmware is not supported on OS X... Following the steps in this guide did allow me to get it upgraded, though.
After completing the firmware upgrade to v1.03, I was able to keep ports open without them immediately disconnecting and getting that ENXIO error.